The Files Pane lists all files available in the selected folder.
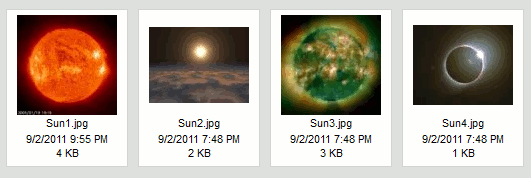
The Files Pane may present the files with two different display formats, depending on CKFinder settings (see "Settings"). The following is a comparison of the Thumbnails and the List views for the same folder.
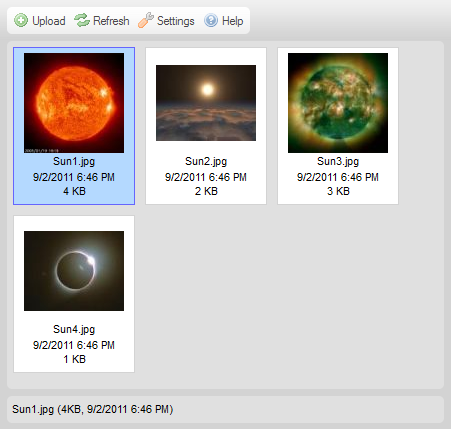
When you configure CKFinder to use the Thumbnails view, the files will be presented as thumbnails (miniature previews or icons), with or without additional information like file name, size, or date (depending on your settings).
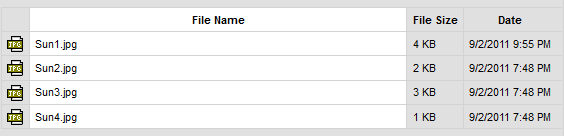
When you configure CKFinder to use the List view, the files will be presented in a list, with or without additional information like file name, size, or date (depending on your settings).
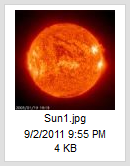
In order to activate a file and make it the "current file" in CKFinder, click the file name or its thumbnail. To make it easier to choose the file, when you hover your mouse over a file, its background will become highlighted. Once a file is activated, it will be permanently highlighted with a different background color.
The figure below presents various states of a file as viewed in a folder: unselected, hovered with a mouse, and activated (selected).
 |
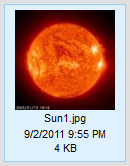 |
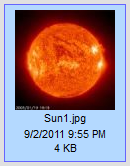 |
In order to deactivate a file, click another one (activating it) or click any empty space inside the Files Pane.
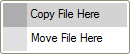
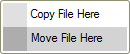
In order to copy a file to a different folder, select it, and drag onto the target folder in the Folders Pane. When you drop it onto a folder name, choose the Copy File Here option from the context menu.
The file will be duplicated and its copy will be placed in the target folder. The source folder will remain untouched.
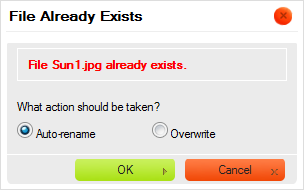
Note: If the file with the same name already exists in the target folder, you will be prompted to choose between overwriting it or automatically renaming the copied file (this is the default option).
In order to move a file to a different folder, select it, and drag onto the target folder in the Folders Pane. When you drop it onto a folder name, choose the Move File Here option from the context menu.
The file will be removed from the source folder and pasted into the target folder.

Advanced operations can be performed on a file by using its Context Menu. Depending on the circumstances, the following options may be available:
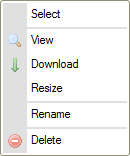
Note: Some context menu options may be disabled (and thus grayed out), depending on CKFinder settings enforced by your system administrator.
In order to select a file by using the context menu, choose the Select option. Alternatively, you can also perform a double-click on the file with your mouse.
Depending on the environment where CKFinder is used, the selection operation can, for example, send the file URL to another application or insert an image directly into an article created in your CMS system.
In order to preview a file in the browser, choose the View option from its context menu. Not all kinds of files can be viewed in browsers, but this feature is quite useful for images, text, and PDF files. In other cases, the browser will ask you to open the file with an appropriate application.
When you attempt to preview an image, CKFinder will display in directly in a lightbox popup.
In order to download a file, choose the Download option from its context menu. The browser will ask you for a location on your computer to save the downloaded file. Depending on your browser and operating system settings, the file might also be opened immediately after it is downloaded by using an appropriate application of your operating system.
In order to change the image size or its thumbnail size, choose the Resize option from its context menu. Once you enter new image dimensions or choose a thumbnail size, close the dialog window to apply the changes.
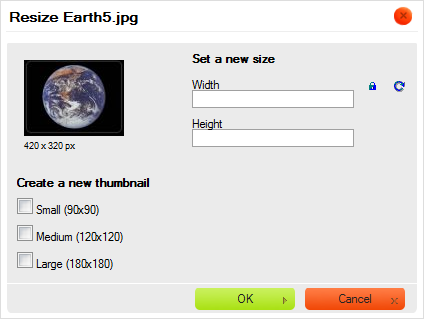
If the image is too big, you can alter its dimensions by entering new values into the
Width and Height fields. By default the image ratio is locked,
which you can see thanks to the ![]() (Lock) button. This means that when you change one of the size values (width
or height), the other one will be adjusted automatically.
(Lock) button. This means that when you change one of the size values (width
or height), the other one will be adjusted automatically.
If you want to freely modify both dimensions, click the Lock button in order to
unlock the ratio. The button will now change to
![]() (Unlock) and modification of one dimension will not automatically cause the
other one to be adjusted. To lock the image ratio again, click the Unlock button
once more.
(Unlock) and modification of one dimension will not automatically cause the
other one to be adjusted. To lock the image ratio again, click the Unlock button
once more.
You can easily return to original image size by pressing the
![]() (Reset Size) button. This will reset the image size; the original width and height
will now appear in appropriate text boxes.
(Reset Size) button. This will reset the image size; the original width and height
will now appear in appropriate text boxes.
If you resize the image, you can decide to save it under the same name, overwriting the existing file. Please note that this operation cannot be undone and once you save the file with its modified dimensions, you will not be able to restore the original size. In order to overwrite the original image, leave the Create a new image checkbox unselected.
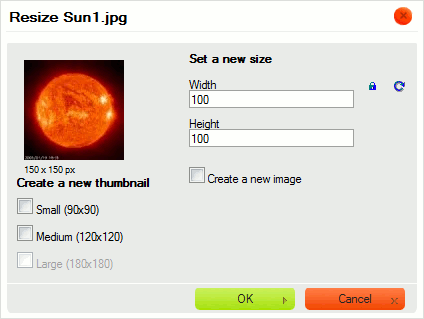
You can also decide to save the resized image in a new file and leave the original as is. If you
select the Create a new image checkbox, you will be able to give the modified
file a new name. By default CKFinder suggests to save the image under the name that is built from
the original file name and new file dimensions (for example: Sun1_100x100.jpg when the
original file was named Sun1.jpg and the file was resized to 100 pixels wide and 100
pixels high).

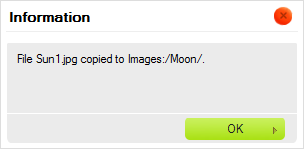
When you are ready with your changes, click the OK button to close the dialog window. On successful resizing a confirmation message will be displayed.
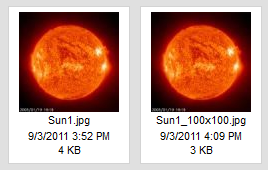
If you saved the resized image in a new file, you will see both files appear inside the folder.
Note: The size of the original image may limit the options available for the Resize feature. The modified image size cannot exceed the original dimensions.
The Resize feature can also be used in order to generate resized copies of images (thumbnails) that you can use in articles on your website or in blog posts. Thanks to the thumbnail resizing feature the site administrator can set predefined thumbnail size options that can be used by CKFinder users. This will save you the effort to manually enter modified width and height values for each image and will let you keep the thumbnail sizes consistent across your site.
In order to use one of the predefined thumbnail sizes, choose the Resize
option from the image context menu. In the Create a new thumbnail section
of the Resize dialog window select the checkbox(es) representing the
desired thumbnail size(s). On successful resizing a confirmation message will be displayed.
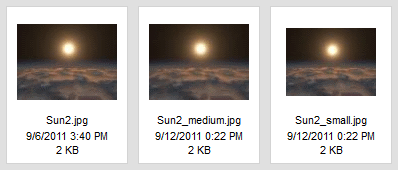
The resized image copies will be created in the same folder and the new files will be named
according to the thumbnail size option that you choose (with _large,
_medium and _small suffixes added to the original file name).
Note: If the image is smaller than some of the thumbnails options (see example above), the ones that are unavailable will be grayed out.
In order to rename a file, choose the Rename option from its context menu or use the F2 keyboard shortcut. Type the new file name in the dialog window that will be displayed, overwriting the existing name. Once you enter the new file name and close the dialog window, the file will be renamed.
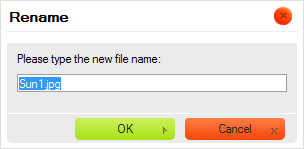
Not all characters can be used in folder and file names due to limitations of the
systems where CKFinder runs. Among the characters that cannot be used in folders and
files names are: \ / : *
? " < > and |.
Attention: When you rename a file, links or media insertions available on other pages and pointing to the renamed file will be broken, and thus not available anymore. Because of that be careful when using this feature.
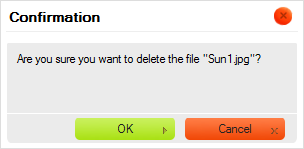
In order to delete a file, choose the Delete option from its context menu or use the Del key. A confirmation message will appear to ensure that this operation is what you really intend to do. Once you confirm the deletion, the file will be removed.
Attention: This operation cannot be undone. Once you delete the file, you will not be able to restore it.
Attention: When you delete a file, links or media insertions available on other pages and pointing to the deleted file will be broken, and thus not available anymore. Because of that be careful when using this feature.